How to Choose a Thermal Pad for GPU Cooling
Choosing a thermal pad for GPU cooling comes down to thickness, W/m·K, and hardness. Measure the old pad, match the heat load, and pick the right material.
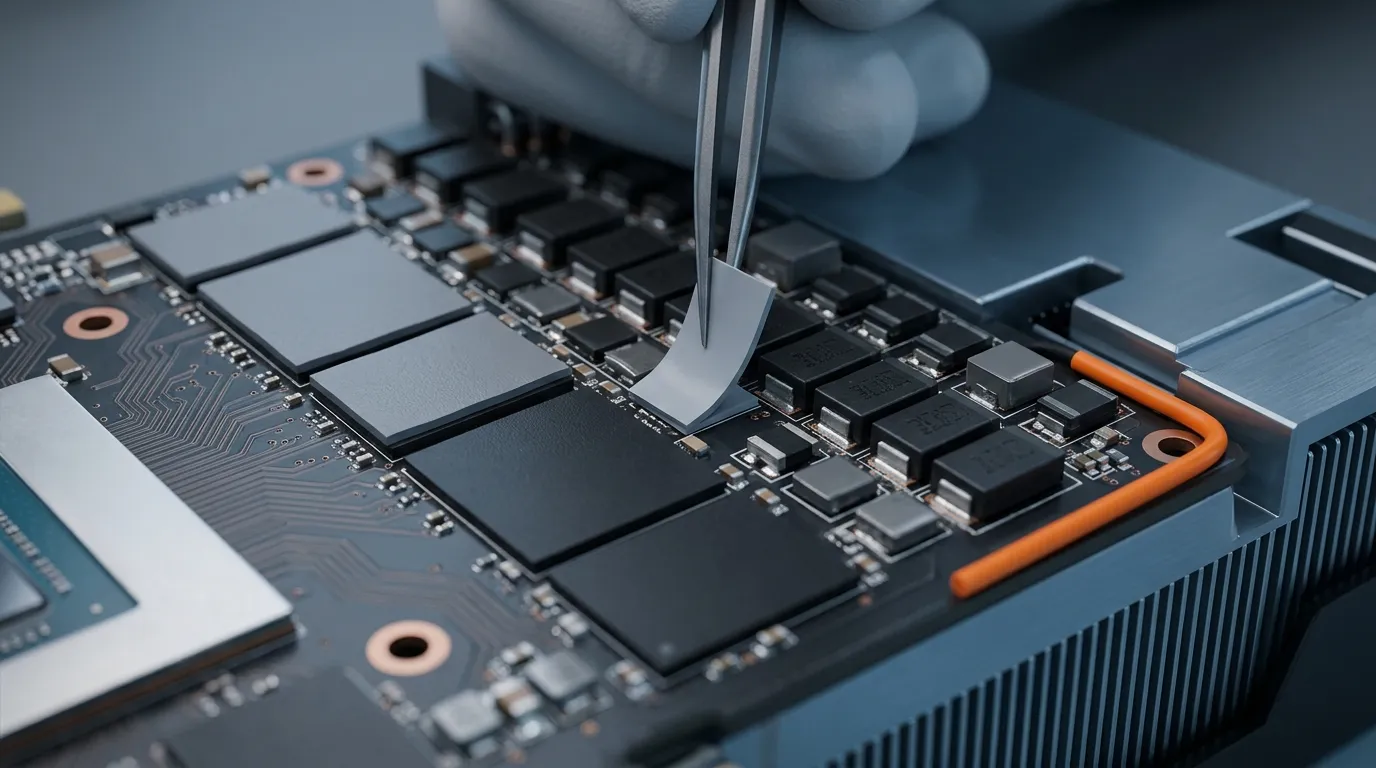
Why the Right Thermal Pad for GPU Cooling Matters
Hotspot at 103 °C, fans pinned to 100%, black screens mid-game. That is the classic failure signature of worn-out thermal pads on a graphics card. The GPU core itself usually runs thermal paste, but the VRAM modules and voltage regulators around it are cooled by thermal pads — soft, gap-filling sheets that bridge the uneven height between components and the heatsink. Over time, thermal pads can experience compression set, material aging, or loss of conformability, which may increase thermal resistance at the interface.
Choosing the right thermal pad for GPU cooling is not about buying the most expensive sheet on the market. It is about four numbers — thickness, thermal conductivity, hardness, and compression behavior — plus the right material family for each component. Get those right and the card runs cool for years. Guess, and you will be opening it again in six months.
Step 1: Know What You Are Cooling — Core, VRAM, or VRM
A graphics card has three distinct heat sources, and each wants a different thermal interface:
- GPU core (die). The chip itself is flat and produces the highest heat flux on the board. Thermal paste is almost always the better choice here — it forms a bond line measured in microns, while even the thinnest pad adds measurable resistance. Use paste on the core, pads everywhere else.
- VRAM / memory chips. These sit at a different height than the core, which is exactly why pads exist: the pad absorbs the height difference and spreads heat into the heatsink. Most GPU memory pads run 1.0–2.0 mm thick.
- VRAM and VRM components can have different thermal requirements, so the optimal pad conductivity and mechanical properties should be selected according to the component heat load and interface design.
VRMs are the power-delivery circuits that convert input voltage into the GPU's operating rails — they run hot precisely because they switch high current at high frequency.
Before you buy anything, decide what you are actually re-padding. If you are servicing a used card, record the thickness and position of every original pad as you remove it — that stack of old pads is your starting specification. And when a spot makes you hesitate between paste and pad, the rule is simple: flat and flush gets paste, anything uneven gets a pad. Our thermal pad vs. thermal paste comparison walks through that decision in detail.
For device-level pad selection across consumer electronics — laptops, GPUs, SSDs, and more — the consumer electronics thermal pad selection hub collects our full selection guides in one place.
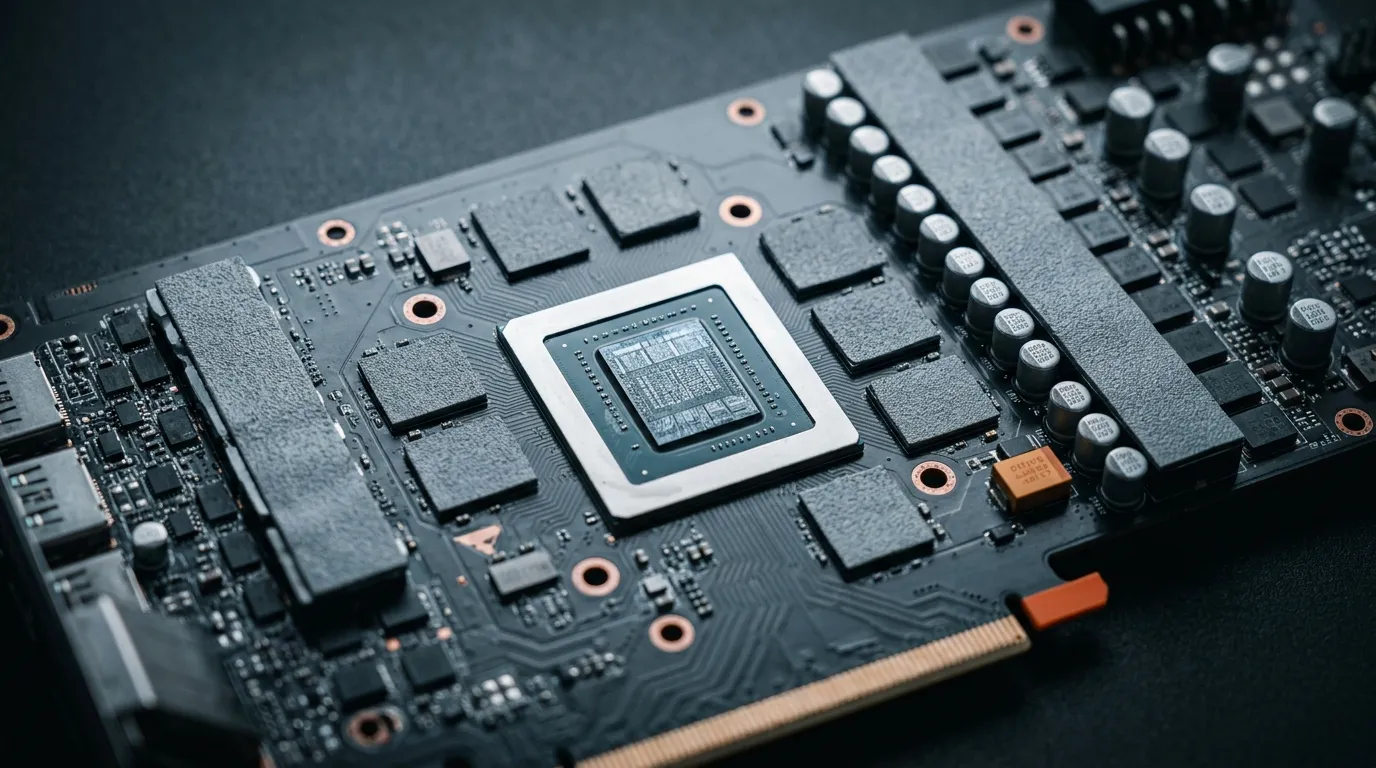
Thermal pads on a graphics card sit over VRAM and VRM components, while the GPU core itself is handled by paste.
Step 2: Measure the Thickness — Don't Guess
The single most common mistake in GPU repadding is buying the wrong thermal pad thickness. Too thick, and the pad holds the heatsink off the core — the core overheats even though the pads are brand new. Too thin, and there is no contact at all; the pad becomes a warm insulator instead of a heat path. Most "best thermal pads for gpu" advice fails right here: forums confidently say "1 mm for VRAM," but the correct value depends on your exact card revision and the gap it was built with.
Measure, don't guess:
- Remove the old pad and clean both surfaces.
- Read the old pad with a caliper. Pads are soft, so close the jaws gently and measure where the pad sat in contact — not at a rolled edge.
- Account for compression. An installed pad is normally squeezed to 70–85% of its relaxed thickness. Select a pad thickness based on the measured gap and the material's specified compression range. The relaxed thickness should provide sufficient contact without creating excessive mechanical stress.
- When in doubt, verify the gap directly: a strip of soft wire or a stack of feeler gauges across the component tells you the real clearance.
Pads ship in fixed steps — 0.5, 1.0, 1.5, 2.0 mm and up. If your measurement falls between steps, Do not automatically choose the thicker pad. Confirm the allowable compression range and assembly clearance first.; a pad that is 15% oversize is fine, one that is undersize is dead on arrival. Our thermal pad thickness and compression guide goes deeper into gap measurement and tolerance.
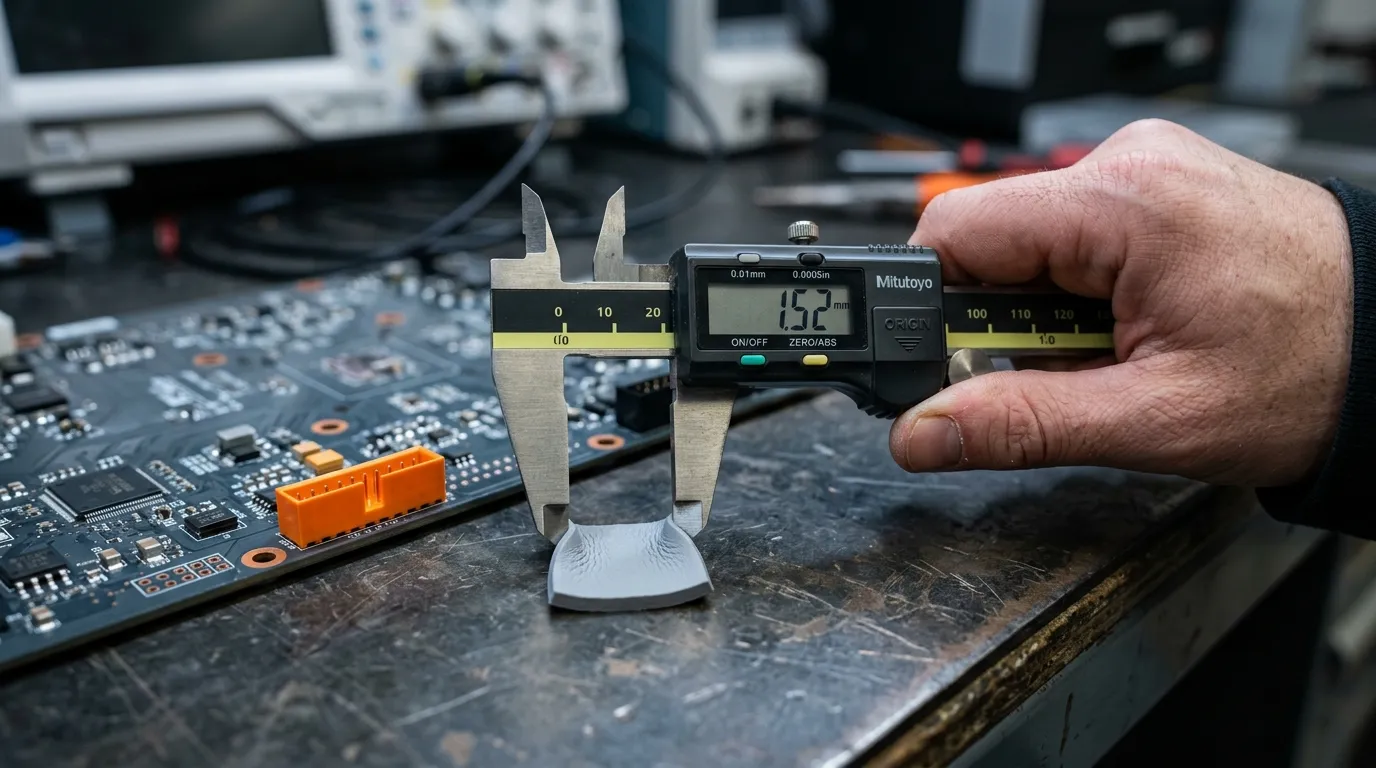
Measure the removed pad with a caliper, then add a compression allowance before ordering a replacement.
Step 3: Match Thermal Conductivity (W/m·K) to the Heat Load
Thermal conductivity — expressed in watts per meter-kelvin, W/m·K — describes how quickly heat moves through the pad. It is the headline spec on every datasheet, and it is also the most misleading one if you read it in isolation: conductivity only matters when the pad genuinely contacts both surfaces, which brings you back to Step 2. For the physics behind the number, Wikipedia's thermal interface material entry is a solid primer.
Practical ranges for GPU work:
- 3–5 W/m·K — fine for low-power memory, general gap filling, and cards that run cool by design.
- 6–8 W/m·K — the sweet spot for GPU VRAM and VRM pads. Most factory cards use material in this band.
- 10+ W/m·K — high-end, overclocking, and AI accelerator boards, where graphite and carbon-fiber pads earn their keep.
Two cautions. First, higher conductivity usually comes with a harder or denser material, which can stress delicate components and needs more mounting pressure. Second, conductivity claims are only comparable when the measurement method is — a "12 W/m·K" pad that cannot conform to your gap performs worse than a 6 W/m·K pad that fully seats. Our thermal conductivity guide for TIMs explains how to compare values honestly.
Step 4: Check Hardness, Compression Set, and Electrical Safety
Two mechanical properties get skipped by almost every consumer guide, yet they decide whether the card still runs cool in year three.
Hardness (Shore 00). Soft pads — roughly Shore 00 20–40 — conform to uneven surfaces and work at low mounting pressure, which is what GPU memory modules need. Harder pads (Shore 00 50–70) hold their shape for die-cutting and automated assembly but demand more pressure and tolerate flatter surfaces. For GPU VRAM and VRM, stay soft to medium.
Compression set. This is the number nobody talks about: how much a pad permanently deforms after being squeezed for months. A pad with high compression set slowly flattens, the gap reopens, and temperatures creep upward — which is exactly the "my card ran fine for two years, now it thermal-throttles" story behind most gpu thermal pad replacement searches. A good pad holds its thickness under sustained load; A lower compression set generally indicates better resistance to permanent deformation, but values should always be compared under the same test method and conditions. The related concept of thermal resistance vs. thermal impedance explains why contact quality matters more than raw conductivity.
Electrical safety. Pads on a GPU sit near exposed traces and solder joints. For general use, choose electrically insulating pads — they conduct heat, not electricity. Graphite and carbon-fiber materials are conductive and require deliberate care around exposed circuitry. Flame retardancy also matters for a component that lives inside an enclosure: Where flame retardancy is required by the end application, UL 94 ratings can be an important material-selection criterion. ZIITEK TIF series pads, for reference, carry UL 94 V-0 ratings across a Shore 00 5–70 hardness range — covering everything from soft memory pads to firmer VRM pads.
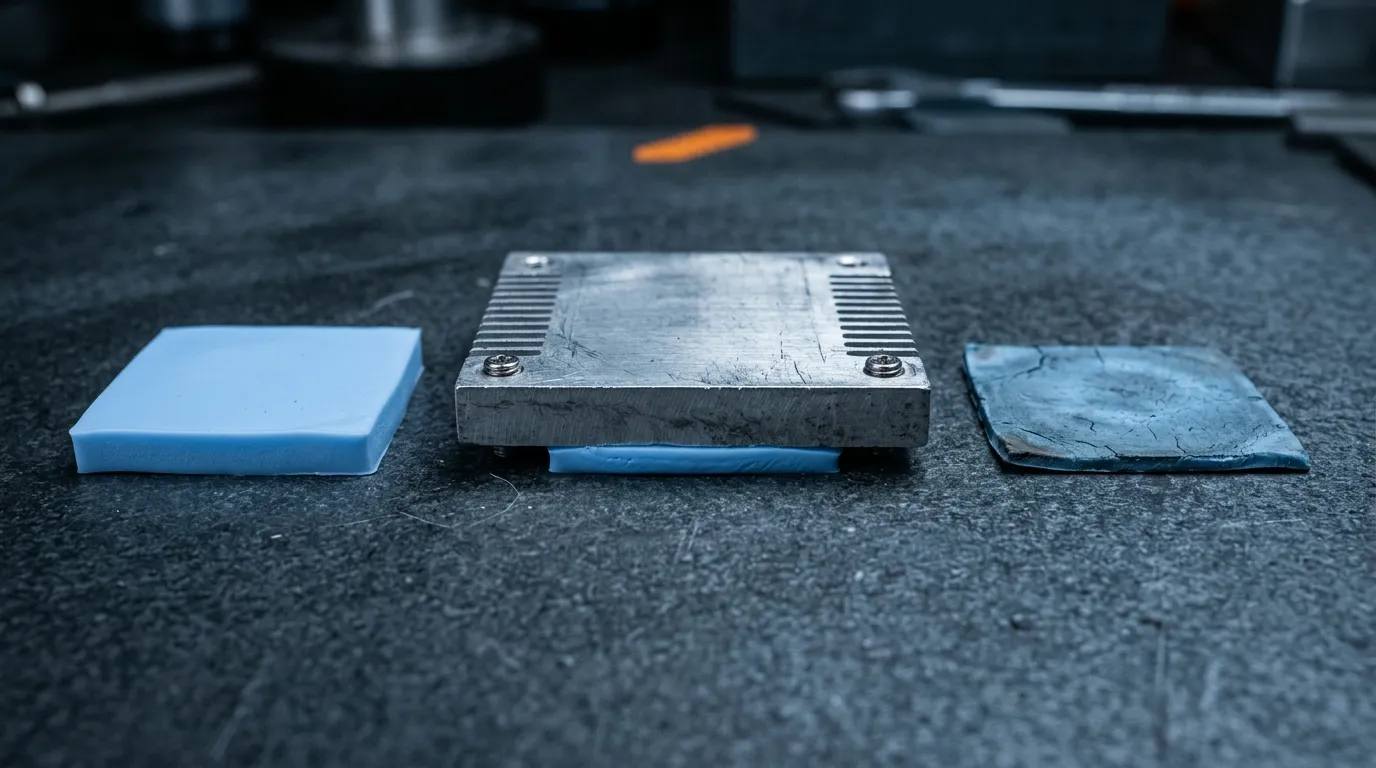
A pad must rebound after compression; high compression set means a permanently flattened pad and rising temperatures over time.
Step 5: Pick the Right Material Family
With thickness and conductivity decided, the material family settles the remaining trade-offs:
| Material | Conductivity | Electrically insulating? | Best for | Main trade-off |
|---|---|---|---|---|
| Silicone pad | 3–8 W/m·K | Yes | Most GPU VRAM / VRM | Cheap and flexible, but can dry out over years |
| Graphite / graphene sheet | 15–50+ W/m·K | No | High-end cards, flat heatsink mating | Short-circuit risk if it touches exposed traces |
| Phase-change material (PCM) | 8–12 W/m·K after warm-up | Yes | Core and memory, long-life builds | Needs heat to activate; harder to remove cleanly |
| Carbon-fiber pad | 9–25 W/m·K | No | Thin gaps, high performance | Non-insulating, minimal tack |
For most people, silicone is the safe default: it is forgiving to install, electrically safe, and cheap enough to replace when it ages. PCM earns its place on the core and on long-life builds where you want paste-like performance without pump-out. Graphite is the enthusiast choice — genuinely excellent thermally, but it demands respect for its conductivity. If you are weighing gap pads against gels and phase-change materials for a larger design, our gap filler vs. gap pad vs. phase-change comparison covers the full family, and Laird's thermal interface materials knowledge center is a good external reference on how material choice interacts with application pressure.
Step 6: Size It Correctly — Sheet, Pre-Cut, or Custom
You have three ways to get pads onto a card:
- Sheets. Cheapest per area, and fine when you only need a few pads. Cut with a sharp blade and aim for a clean edge — a ragged cut leaves air gaps and overlaps neighboring components. Cutting slightly oversize (about 0.5 mm) is good practice: the extra material compresses into the gap instead of leaving a hairline void.
- Pre-cut kits. Sized for popular cards (recent GPU generations), these remove the measurement risk entirely. Worth the premium if your card model has a kit.
- Custom die-cut. The right answer for repair shops, board rework, and production. Pads die-cut to your exact component footprint fit consistently and install faster than hand-cut sheets.
For custom runs, ZIITEK's in-house die-cutting produces shaped pads from TIF series material, with 30+ automatic cutting machines across four production bases — send us a footprint and you get pads back cut to tolerance. Browse the TIF thermal pad lineup to see the available conductivity and hardness options.
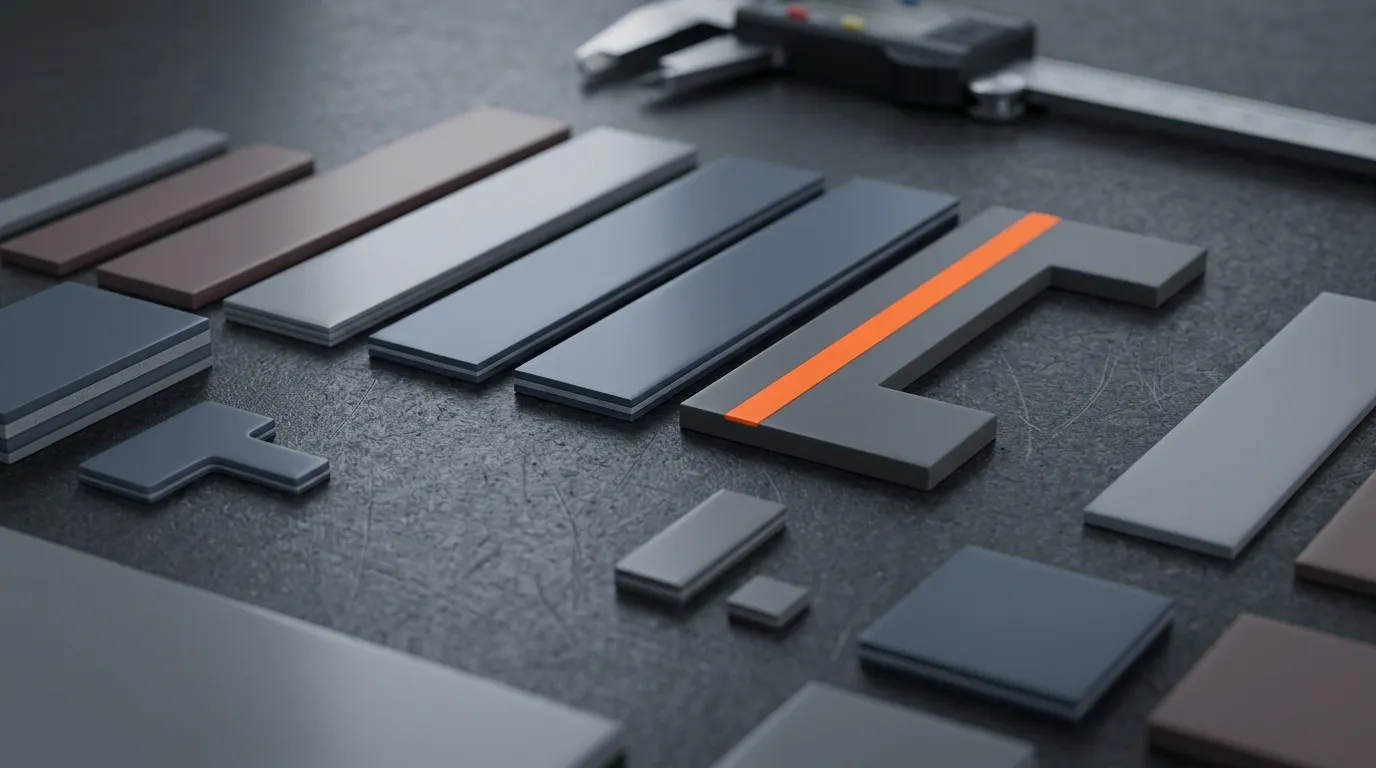
Die-cut pads eliminate hand-cutting errors and give consistent edge quality for board-level assembly.
The 7-Point Checklist Before You Buy
Run through this before you place the order:
- Component identified? Core gets paste; VRAM and VRM get pads — different specs.
- Thickness measured, not guessed? Caliper reading plus a 15–30% compression allowance.
- Conductivity matched to load? 6+ W/m·K for GPU memory and VRM pads.
- Hardness appropriate? Shore 00 20–50 for typical GPU memory; firmer only where the design allows.
- Compression set checked? Prefer pads that hold thickness under sustained load (≤10% if the datasheet states it).
- Electrically insulating? Yes, unless you deliberately chose graphite and know where it can and cannot go.
- Flame rated and sourced? UL 94 V-0 material from a supplier who will answer a spec question.
FAQ: GPU Thermal Pad Questions, Answered
How often should GPU thermal pads be replaced? Every three to five years for a card used daily, or sooner if hotspot temperatures climb and the pads feel hard and flat. Replace pads whenever you open the card for any reason.
Can thermal pads be reused after removing the card? No. A pad deforms permanently on first compression; reusing it leaves air gaps that quietly undo the whole job.
Is paste or pad better for the GPU core? Paste. The core is flat and needs the thinnest possible bond line; pads are for uneven components like memory and VRMs.
What thickness do recent GPU generations pads use? Typically 1.0–2.0 mm for VRAM and often 2.0–3.0 mm for chokes and VRMs — but verify with a caliper, because card revisions differ and forum numbers are frequently wrong for your exact model.
Do thermal pads go bad sitting in a drawer? Stored pads last for years; they degrade from heat and pressure in service, not from age on the shelf.
Still not sure which thermal pad for GPU cooling fits your card or your next design? Send the ZIITEK Thermal Engineering Team your component layout and gap measurements — we will spec the right thickness, conductivity, and hardness, and cut it to size for you.