How to Remove & Clean Off Thermal Paste
Remove old thermal paste with 90–99% isopropyl alcohol and a lint-free cloth—no acetone or water. Step-by-step for CPU, GPU and laptop, plus what to avoid.
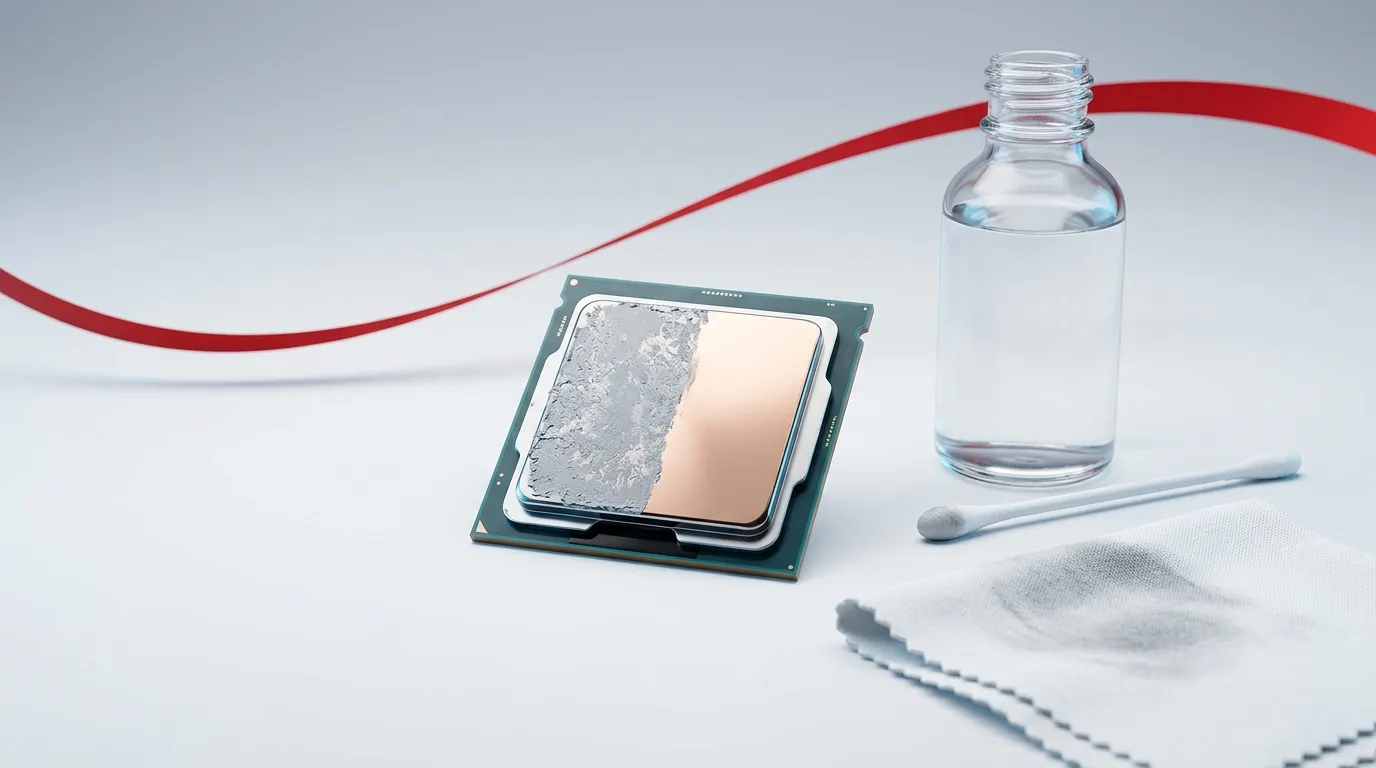
Short answer: Dampen a lint-free cloth or coffee filter with 90%+ isopropyl alcohol (99% is ideal), wipe the old thermal paste off the surface, then do a final pass with an alcohol-dampened cotton swab. Let it air-dry for about a minute until the metal is clean and mirror-bright with no gray residue, and you’re ready to re-paste. Do not use water, acetone, nail-polish remover, or paper towels. The whole job takes about five minutes.
That’s the recipe. The rest of this guide covers why it works, how to adapt it for a CPU, a bare GPU die, or a laptop, what to do with hardened paste or liquid metal, and the mistakes that can quietly cost you cooling performance—or damage a component.
We build thermal interface materials for a living, so we’ll also explain the part most guides skip: why a genuinely clean surface matters for heat transfer in the first place.
What you’ll need
You almost certainly have most of this already. The full list, in order of importance:
| Item | Why | Substitute |
|---|---|---|
| Isopropyl alcohol (IPA), 90–99% | Wets and thins the grease so a cloth lifts it off cleanly, evaporates fast, leaves no conductive residue | A dedicated thermal-paste cleaner (e.g. ArctiClean) |
| Lint-free / microfiber cloth | Wipes the bulk off without shedding fibers | Coffee filter, lint-free wipe |
| Cotton swabs (Q-tips) | Detail work—edges, corners, screw wells | Wooden toothpick wrapped in lint-free cloth |
| Plastic spudger or old card | Lifts hardened paste without scratching | Plastic spoon, guitar pick—never metal |
| Nitrile or latex gloves (optional) | Keeps skin oils off the surface; keeps paste off you | — |
| Compressed air (optional) | Clears dust after cleaning | Blower bulb |
One note on the alcohol, because this is our field and most guides get it wrong: IPA does not dissolve thermal grease. The carrier in a typical paste is a silicone oil (PDMS), and silicones dissolve in non-polar solvents—hexane, toluene, xylene—not in a polar alcohol like IPA. What IPA actually does is wet the film and creep in at its edges, thin and loosen the filler-packed grease so it releases its grip on the metal, and let the cloth carry it away mechanically. Then it flashes off in seconds, leaving essentially nothing behind.
That distinction is not pedantry—it tells you how to use it. Because the alcohol is lifting rather than dissolving, wiping matters more than soaking: light, repeated passes with fresh cloth surfaces clear a lid faster than drowning it and waiting. IPA is also flammable (PubChem: Isopropyl alcohol), so work in a ventilated space and keep it away from heat sources.
Why bother removing the old paste properly?
Thermal paste exists to fill the microscopic air gaps between a chip and its cooler. Air is a poor conductor, so even a hair-thin trapped layer of it raises the temperature your CPU or GPU runs at. Over time, paste dries out, cracks, and “pumps out” from the center of the contact area—which is exactly why old thermal grease loses effectiveness and needs replacing (Wikipedia: Thermal grease). If you want the full background, see what thermal paste is and how it works.
Here’s the part that matters for removal: any leftover you don’t clean off becomes part of the new interface. Old, dried paste mixed with fresh paste, or a smear of residue under a new application, reintroduces the very air gaps and uneven contact you’re trying to eliminate. A clean, flat, bare surface is what lets the new layer sit thin and continuous. Getting the surface right is the foundation of the whole thermal stack—it’s the first step in our complete guide to choosing thermal interface materials.
Which isopropyl alcohol: 70%, 90%, or 99%?
This is the question every forum argues about, so let’s settle it. The number is the alcohol content; the rest is water.
- 99% (or 91–99%) — the best choice. Almost no water, so it dries in seconds and won’t leave watermarks or invite corrosion. Use this if you have it.
- 90% — perfectly fine. A slightly longer dry time; still leaves a clean surface.
- 70% — works, but it’s 30% water. It cleans the paste, yet it evaporates more slowly and can leave faint water spots, so you’ll want to finish with a dry lint-free pass and give it extra drying time before re-pasting.
- Below 70% / “rubbing alcohol” of unknown strength — avoid. Too much water, too much residue.
The rule of thumb: higher concentration = less water = faster, cleaner drying. If you’re buying a bottle specifically for this, get 99%.
How to remove thermal paste from a CPU
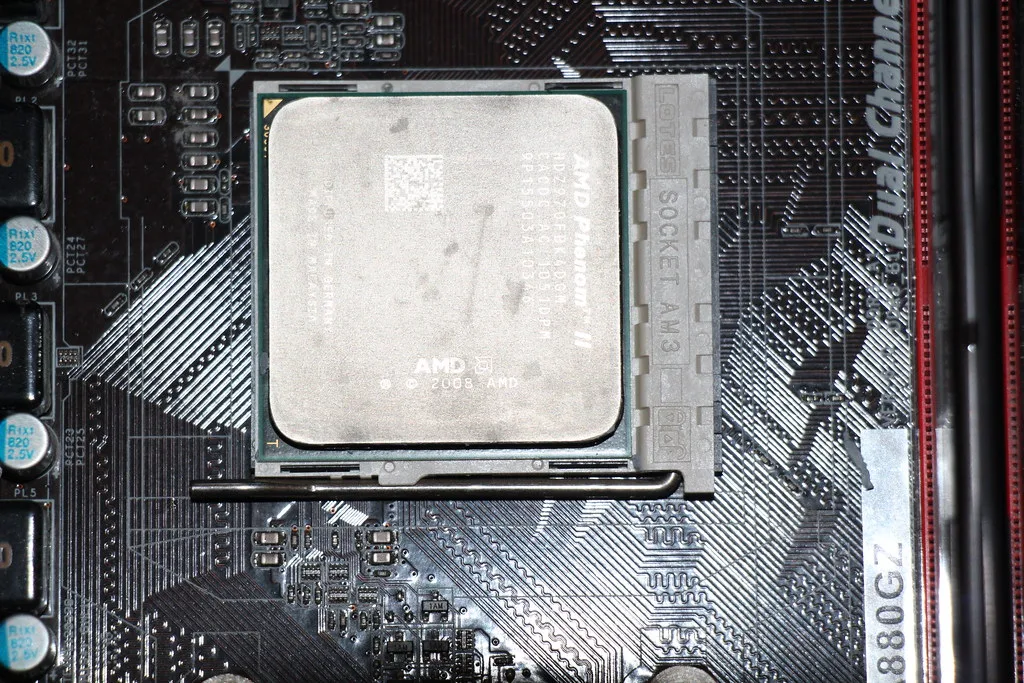
This is the standard case—a CPU with a metal lid, called the integrated heat spreader (IHS).
- Warm the machine up first. Before you shut down, let the system run for five or ten minutes—idling at the desktop is enough. Warm paste is markedly softer and releases more willingly than paste that’s been sitting cold overnight, and this single step is your best defense against the failure in Step 3. Warm, not hot: you’re softening the grease, not working on a machine you can’t comfortably touch.
- Power down and unplug the system. If you’re pulling the CPU or working near the board, touch a bare metal part of the case (or wear an ESD wrist strap) to discharge static first.
- Remove the cooler. If it’s stuck to old, dried paste, gently twist it a few degrees rather than pulling straight up—yanking can lift the CPU out of a socketed board, and on a PGA chip that means bent pins. If it won’t budge, don’t force it: warm the system again rather than pulling harder.
- Wipe off the bulk. Dampen (don’t soak) a lint-free cloth with 90%+ IPA and wipe the gray paste off the IHS in one direction. Repeat with a fresh section of cloth until most of it is gone.
- Detail the edges. Use an alcohol-dampened cotton swab to clean the beveled edges of the lid and any paste that crept toward the sides.
- Final pass. One last wipe with a clean, lightly dampened cloth. You’re done when the surface is uniformly shiny with no gray haze or streaks—that mirror finish is your “clean enough” signal.
- Let it dry for about a minute. The alcohol flashes off quickly.
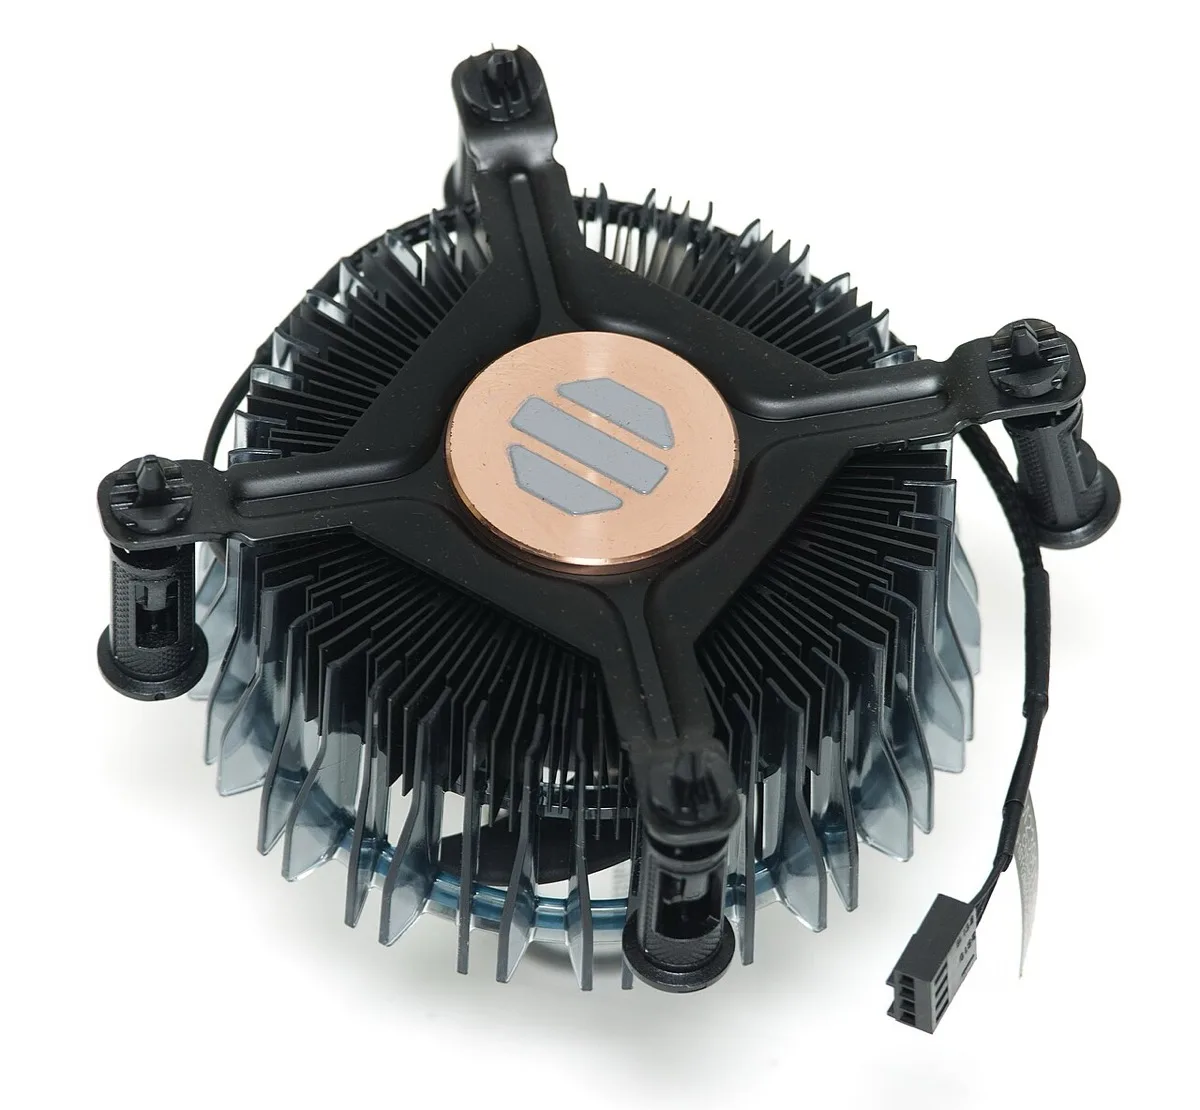
- Clean the cooler’s cold plate too. The heatsink base has just as much old paste on it—clean it the same way. New paste on one clean surface and one dirty surface still traps a bad layer.
If something goes onto the board: does your paste conduct?
Sooner or later a smear ends up somewhere it shouldn’t. How much trouble that actually is depends on one thing most guides never mention—whether your paste conducts electricity:
- Non-conductive (most pastes). Standard gray silicone/ceramic pastes—filled with zinc oxide, aluminum oxide, or boron nitride—do not conduct. A smear on the board is a cleanup job, not an emergency.
- Conductive or capacitive. Pastes loaded with silver, copper, or carbon conduct, and liquid metal conducts extremely well. On these, a bridge across LGA contacts or adjacent SMD pads can short the board.
- If the tube doesn’t say, treat it as conductive. The cautious assumption costs you five minutes; the wrong one can cost the board.
If paste drips onto the socket or motherboard: don’t flood it with alcohol. Blot with a dry swab first, then a barely-damp swab, and let it dry fully before powering on. If your paste is non-conductive, you have time—work methodically, and residue that’s fully cleaned and dried is a non-event. If it’s conductive (or you’re not sure), get all of it out before power goes anywhere near the board—inspect the socket under a bright light, and don’t accept “mostly clean.” On an LGA socket, never bend the pins—work gently and let capillary action and evaporation do the work.
Removing paste from a bare GPU die or laptop chip
Not every chip has a protective metal lid. Most GPUs and many laptop CPUs/GPUs expose the bare silicon die, which is small, slightly raised, and easier to chip or scratch.
- Use the same alcohol-and-lint-free-cloth method, but with a lighter touch and no scraping. A cotton swab dampened with 99% IPA is often the safest tool for a small die.
- Watch the tiny surface-mount components around the die—wipe toward the die, not off its edge into the capacitors.
- Laptops usually share one heat pipe across the CPU and GPU; clean both dies and both cold-plate contact points.
iFixit’s teardown guides are a good visual reference for how the die and surrounding components sit on a specific laptop or card (iFixit: Thermal paste replacement & fan cleaning).
Dealing with hardened or “baked-on” paste
Paste that’s been baked by years of heat can go crumbly or rock-hard. Don’t reach for a knife.
- Lay an IPA-dampened cloth or cotton pad over the crust and let it soak for 30–60 seconds to soften it.
- Gently lift the softened paste with a plastic spudger, an old plastic card, or a guitar pick—held nearly flat. A metal blade will scratch the IHS or nick a die.
- Re-wet and wipe away the loosened residue, then finish as normal.
Special case: liquid metal
If your paste is liquid metal (a shiny, mercury-like gallium alloy), the rules change.
It conducts electricity, and that is the main hazard. Liquid metal beads up rather than smearing, and removal is precisely when beads escape—the film breaks into droplets the moment you lift the cooler. A bead that rolls off the die onto the motherboard or into the socket can short traces or contacts and kill the board outright. So: work with the board flat and horizontal, lay a lint-free cloth under the work area to catch strays, keep the system unplugged, and account for every bead before power goes near it. A flashlight held at a low angle makes stragglers glint.
Liquid metal does not dissolve in isopropyl alcohol. Use the spreader or applicator that came with it, plus a dedicated liquid-metal cleaning pad/eraser, to lift the beads, then finish with an IPA wipe.
Then check the aluminum. Gallium attacks aluminum—it wicks into the grain boundaries and embrittles the metal from within. This is permanent damage, not residue you can wipe off. Liquid metal belongs on nickel-plated copper, never on bare aluminum. If yours has been sitting on an aluminum cold plate, inspect it for pitting, dull gray staining, or a chalky, crumbling surface: a cold plate showing any of that is compromised and should be replaced, not cleaned and reused.
This is an enthusiast-only material; if you’re not sure what you have, it’s almost certainly ordinary gray paste, not liquid metal.
What NOT to use
The wrong cleaner can leave residue, corrode metal, or damage plastics and coatings. Avoid these:
| Don’t use | Why |
|---|---|
| Water | Beads up on the oily silicone carrier instead of wetting it, so it smears the paste rather than lifting it—and water left on electronics invites corrosion and shorts |
| Acetone / nail-polish remover | An aggressive solvent that attacks many plastics, paints, and coatings; overkill and risky near a board (PubChem: Acetone) |
| Paper towels / tissue | Shed lint and fibers that get trapped under the new paste |
| Vodka, hand sanitizer, WD-40, vinegar | Wrong chemistry—too much water, added oils, fragrances, or gel that leaves residue |
| Metal blades / abrasive pads | Scratch the IHS or crack a bare die |
Can you remove thermal paste without alcohol?
You can, but it’s a compromise. Options, best to worst:
- A dedicated thermal-paste cleaner (ArctiClean and similar two-step kits) is actually better than plain IPA and needs no alcohol on your part.
- A microfiber cloth alone will wipe most soft paste off mechanically—follow up with a proper solvent later before re-pasting.
- In a pinch, nothing else household is reliably safe. If you don’t have IPA, buying a small bottle is cheaper than risking a component.
After it’s clean: reapply and reassemble
Once the surfaces are bare, dry, and residue-free, you’re ready for fresh paste. A clean surface is only half the job—applying the new layer correctly is the other half:
- How to apply thermal paste correctly — pattern, pressure, and technique.
- How much thermal paste to use — the pea-sized rule and when to deviate.
If you’re deciding whether to go back to paste at all, our thermal pad vs thermal paste comparison covers the trade-offs.
As a thermal-materials manufacturer, ZIITEK produces the grease that goes back on after a clean like this—our TIG®780 thermal grease series runs from 1.0 to 5.2 W/mK, operates from −45 °C to +200 °C, and is non-toxic and RoHS-compliant, with a high-thixotropy formula built to spread thin and evenly. The point isn’t the brand on the tube; it’s that fresh, correctly applied paste on a properly cleaned surface is what restores the low-resistance contact you just worked to protect.
Frequently asked questions
What can I use to remove thermal paste? 90–99% isopropyl alcohol on a lint-free cloth or cotton swab is the standard, safest method. A dedicated thermal-paste cleaner works just as well.
Can I use 70% alcohol to remove thermal paste? Yes, it works, but it’s 30% water—it dries slower and can leave faint spots. Finish with a dry lint-free wipe and let it dry longer. 90% or 99% is better if you have it.
Can I remove thermal paste with water? No. Water can’t wet the oily, silicone-based carrier, so it smears the paste around instead of lifting it—and leaving moisture on electronics risks corrosion and shorts.
Is thermal paste easy to remove? Yes—fresh or soft paste wipes off in under five minutes with alcohol and a cloth. Only old, baked-on paste needs a short soak to soften first.
Do I need to clean the heatsink too? Always. Old paste sits on both the chip and the cooler’s cold plate; clean both, or the new layer still traps dried residue.
Is thermal paste electrically conductive? Most aren’t. Standard gray silicone/ceramic pastes (zinc oxide, aluminum oxide, boron nitride) are non-conductive, so a smear on the board is a cleanup job rather than an emergency. But silver-, copper- and carbon-loaded pastes conduct, and liquid metal conducts very well—on those, paste bridging socket contacts or nearby components can short the board. If the tube doesn’t say, assume it conducts and clean accordingly.
How often should I replace thermal paste? For most systems, every 3–5 years, or whenever temperatures start climbing or you remove the cooler for any reason. Premium pastes can last longer; a system that used to run cool and is now creeping warmer with clean fans is the real signal.