How to Apply Thermal Paste Correctly: CPU & GPU
Apply thermal paste correctly: put one pea-sized dot in the center of the CPU, then mount the cooler evenly so it spreads. Coverage beats pattern—full guide.
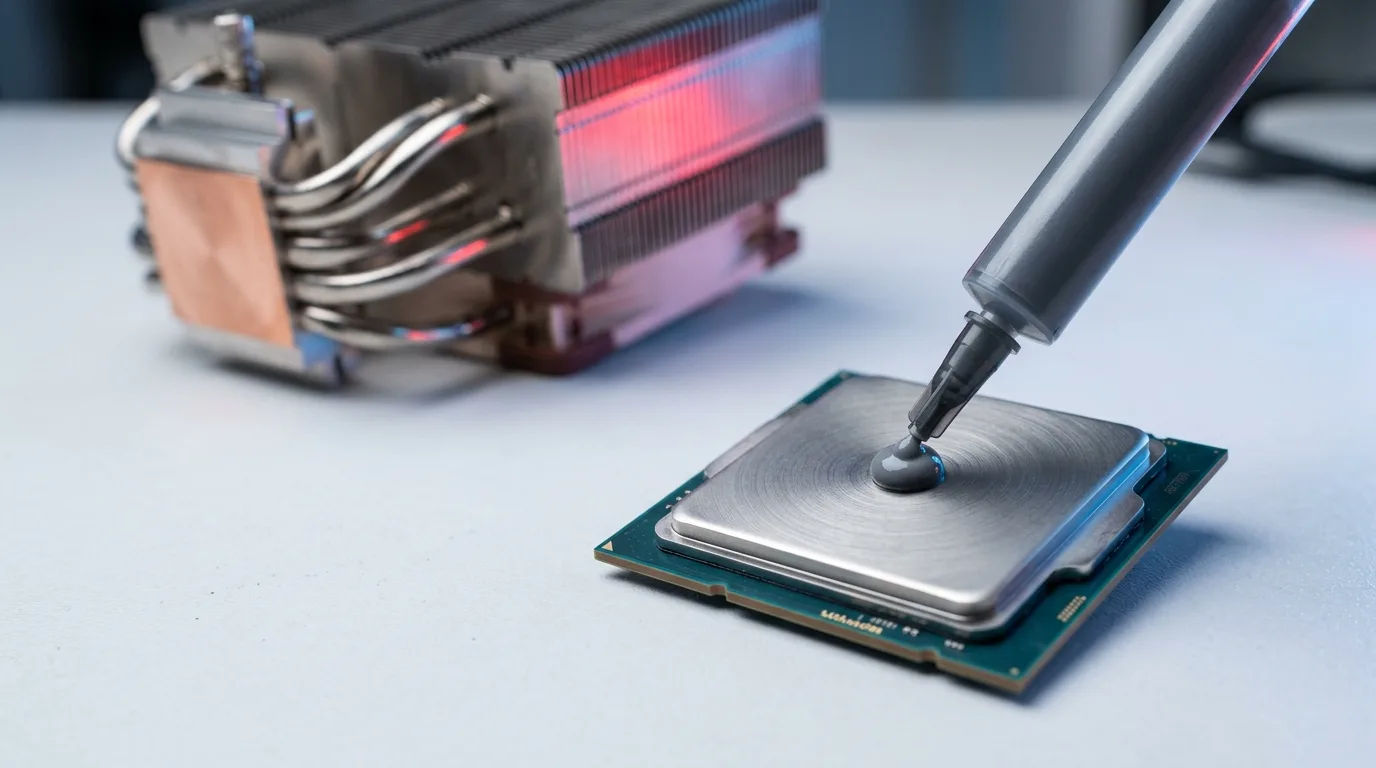
Applying thermal paste is one of those small jobs that feels far scarier than it is. Get it right and your CPU runs cool and quiet for years. Get it wrong and you might see higher temperatures, thermal throttling, or a stubborn few degrees you can’t explain.
Here’s the reassuring part: doing it correctly is mostly about a few simple rules, not a secret technique. This guide walks through the whole process step by step—for a CPU, a GPU, and a laptop—and settles the “which pattern is best” debate with actual test data.
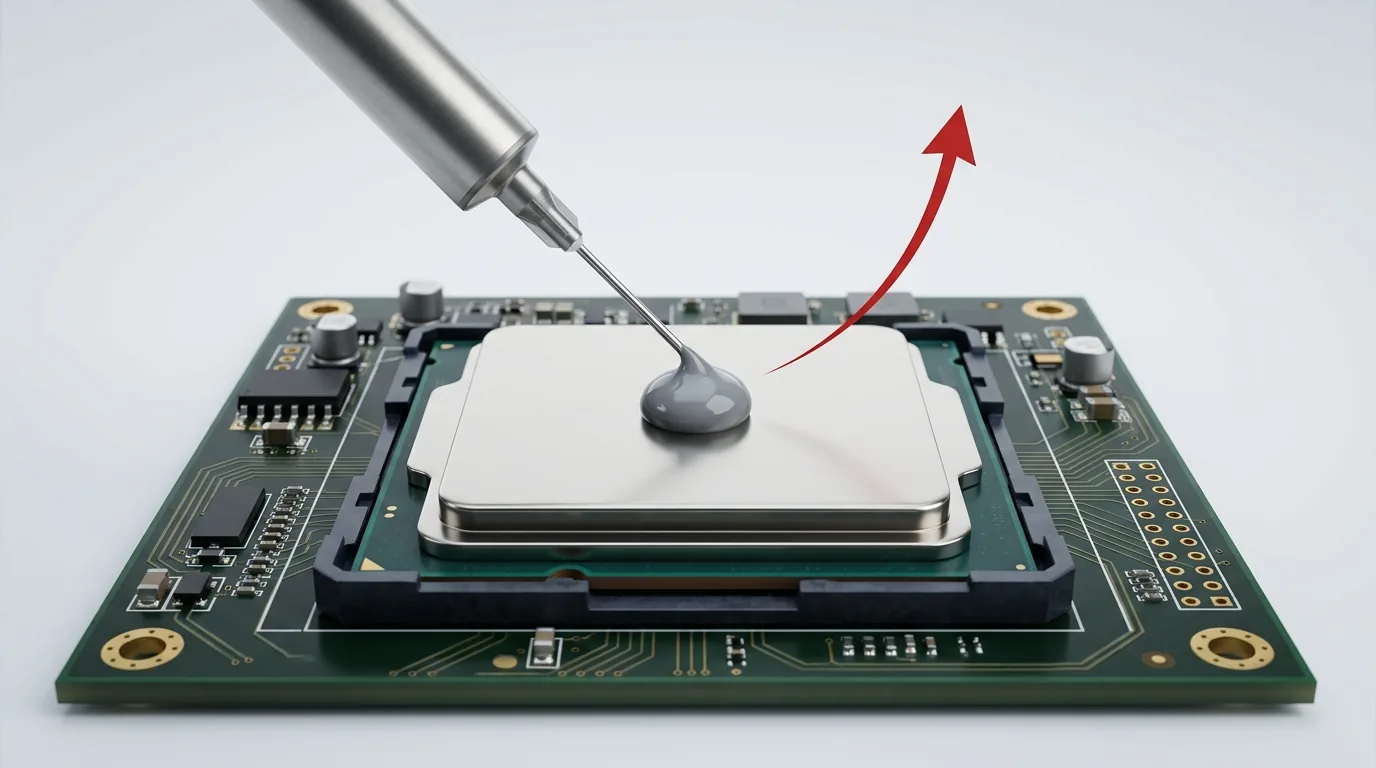
The short answer: Clean both surfaces with isopropyl alcohol, place one pea-sized dot in the center of the chip, then mount the cooler straight down with even pressure. Let the mounting pressure spread the paste. Full, gap-free coverage matters far more than the pattern you use.
What thermal paste does (and why “correctly” matters)
The metal surfaces of your CPU’s integrated heat spreader (IHS) and your cooler’s base look mirror-flat, but under magnification both are covered in microscopic pits and ridges. Press them together and tiny air gaps remain—and air is a terrible conductor of heat.
Thermal paste (also called thermal grease, thermal compound, or a thermal interface material) fills those gaps so heat flows from the chip into the cooler instead of getting trapped. Intel puts the job plainly in its official guidance: a thermal interface material “provides efficient thermal exchange between the processor Integrated Heat Spreader (IHS) and the fan-heatsink,” and its proper installation is “crucial to the success of the processor and fan-heatsink integration process” (Intel Support).
That’s the entire job. You’re not trying to build a thick cushion of paste—you’re trying to lay down the thinnest continuous layer that still fills every gap. Too little and you leave dry spots; too much just makes a mess (more on that below). If you want the deeper background on the material itself, see What Is Thermal Paste? and how its rating is measured in Understanding Thermal Conductivity (W/mK).
What you’ll need
- Thermal paste — a fresh tube of any reputable non-conductive compound. (Not sure which to buy? See How to Choose a Thermal Interface Material.)
- 99% isopropyl alcohol (IPA) — for cleaning. Higher purity evaporates cleaner than rubbing alcohol.
- A lint-free cloth, microfiber, or coffee filter — paper towels shed fibers.
- A plastic spudger or your fingernail — to gently lift the cooler if there’s old, dried paste. Never a metal blade or screwdriver on the chip: it scratches the heat spreader, and a slip can short something.
- (Optional) nitrile gloves, and a small spreader card if you plan to spread manually.
How to apply thermal paste to a CPU (step by step)
Step 1 — Clean both surfaces
If you’re removing an existing cooler, warm the machine up first. Run the PC for a few minutes—or run a short load—then shut it down and unplug it before you start. Warm paste is soft and releases its grip. Cold, hardened paste can bond the cooler to the CPU so firmly that pulling it off yanks the whole processor out of a latched socket, bending pins on the way. Twist the cooler gently to break the seal instead of hauling it straight up.
Then clean. Dampen a lint-free cloth with 99% isopropyl alcohol and wipe the IHS and the cooler base until they’re clean and shiny, then let the alcohol fully evaporate before continuing. Intel’s own removal guidance is exactly this: use isopropyl alcohol to gently remove the old TIM, then “wait for a while until the alcohol dry/dissipate before installation/reinstallation of the processor” (Intel Support). If anything needs coaxing off, use a plastic spudger or a fingernail—never a metal blade or screwdriver, which scratches the IHS and can short components if it slips. For a full cleanup walkthrough, see How to Remove & Clean Off Thermal Paste.
Skip this if your cooler is brand new. Most stock and many aftermarket coolers ship with paste pre-applied (often in a three-bar strip). If yours has it, don’t add more—and don’t forget to peel off any protective plastic film.
Step 2 — Use the right amount
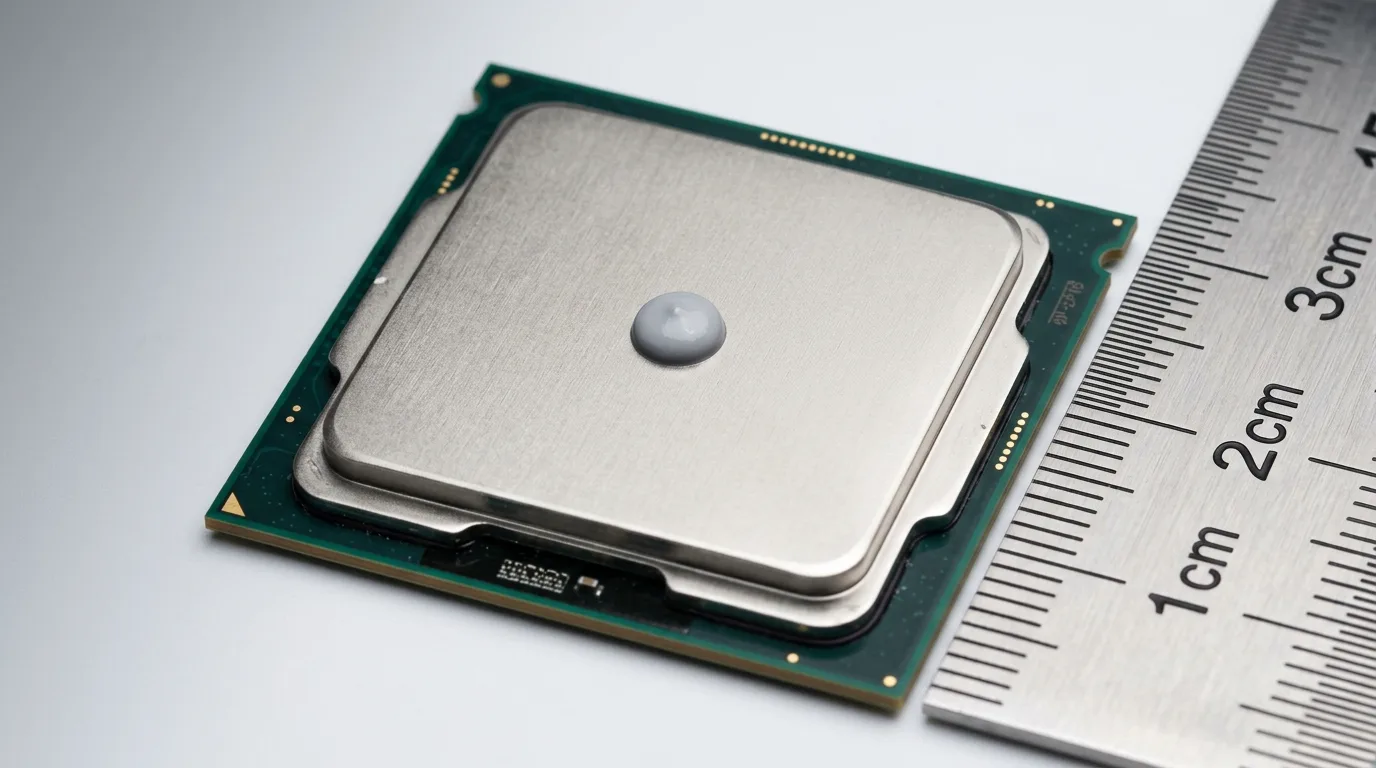
Squeeze out a single pea-sized dot—roughly 4–6 mm across, about 0.1–0.3 g. That’s it. The amount is deliberately small because the cooler’s clamping force does the spreading for you.
One distinction worth being precise about, because the internet blurs it constantly: a pea is not a grain of rice. The two get used interchangeably and they shouldn’t be. A rice-grain dot (~3 mm) is for a bare die—a laptop chip, an APU, or a GPU. A full desktop heat spreader wants the pea. The difference in volume is several times over, and that’s exactly the margin between “full coverage” and “dry corners.”
(For the full breakdown by chip size, see How Much Thermal Paste to Use.)
Step 3 — Place the dot in the center
Hold the tube perpendicular to the CPU and dispense straight down into the middle of the IHS. Center placement is manufacturer guidance, not folklore: Intel’s own instructions say to dispense the compound “to the center of the processor IHS surface” (Intel Support). (“Pea-sized” is the industry’s shorthand for the amount that goes there—Intel doesn’t use the word itself.)
Don’t smear it and don’t paint the corners: on a standard heat spreader there is no need to pre-spread anything, because mounting pressure does that job for you—and does it without trapping air.
To be clear, manual spreading isn’t worse. Independent testing puts a careful thin spread among the best-performing methods (see below). It’s simply unnecessary work, with extra ways to go wrong, on a standard CPU. Where it genuinely earns its keep is on large rectangular lids and bare dies—see the table further down.
“Do I put the paste on the CPU or the cooler?” On the CPU, and on one surface only. The two get pressed into a single layer either way, so pasting both just doubles the amount and thickens the bond line. Putting it on the chip is simply easier to aim: the IHS is flat, facing up, and you can see exactly where the dot lands.
Step 4 — Mount the cooler with even pressure
Lower the cooler straight down onto the CPU without sliding it around, then tighten the mounting screws a little at a time in a crisscross (diagonal) order—like tightening a car wheel. Never run one screw all the way down before starting the next. Even pressure pushes the paste outward evenly from the center and squeezes out any excess, giving you that thin, continuous layer you’re after.
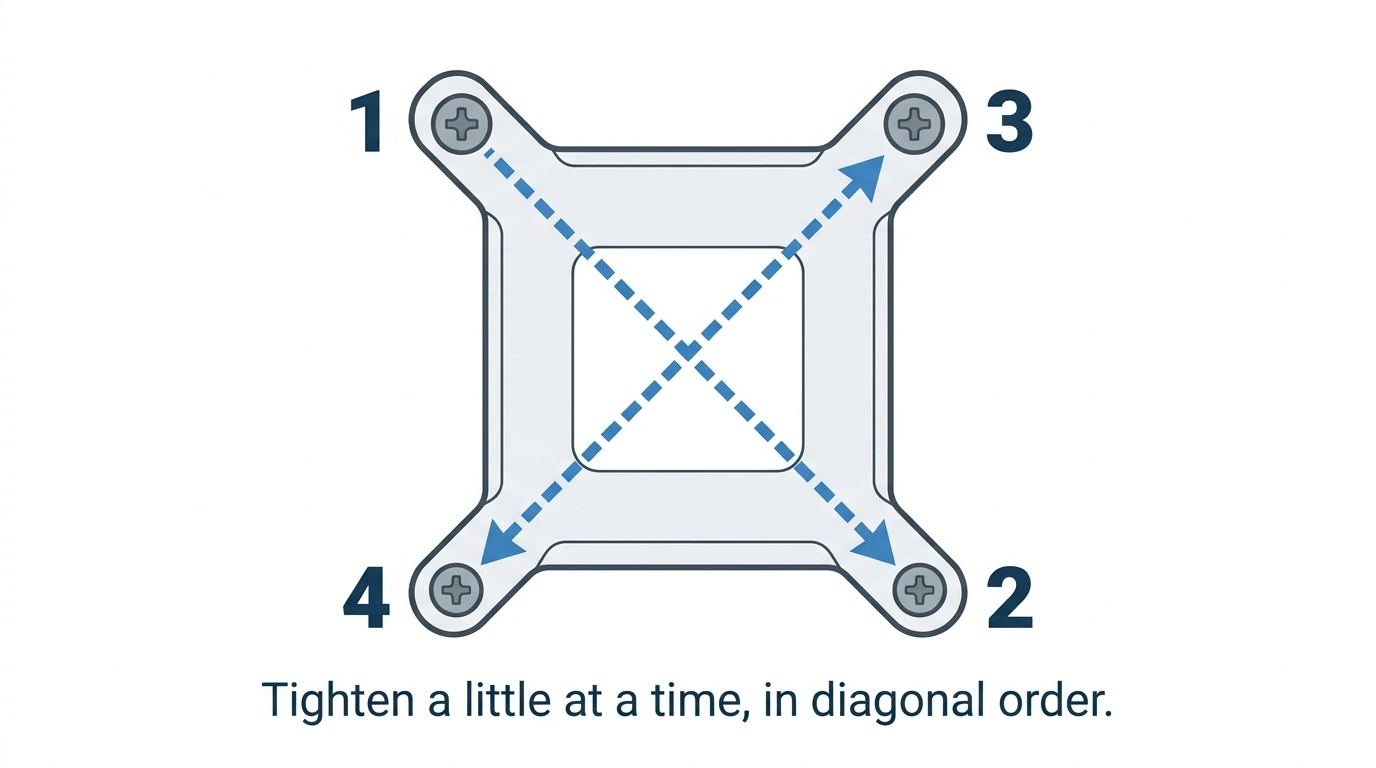
The same applies to an AIO liquid cooler’s pump head: seat it flat, then bring the screws down diagonally in stages. This step deserves more of your attention than the pattern debate does—pattern choice is worth well under a degree, while a cooler that’s tightened unevenly or left slightly loose is worth several.
Step 5 — Boot and check temperatures
Power on, open a temperature monitor (HWiNFO, Core Temp, or your motherboard software), and run a short stress test.
As a rough sanity check on a typical desktop: idle temps in the 30–45 °C range in a room-temperature space, and load temps that stabilize comfortably short of the roughly 95–100 °C ceiling where modern CPUs begin throttling. Exact numbers vary a lot by chip and cooler, so treat these as guardrails rather than targets—the shape of the result is what matters. If you’re idling at 60 °C+, or you hit the throttle ceiling within seconds of starting a stress test, something is wrong. It’s usually a loose cooler or a protective film left on the cooler base—not the paste pattern.
Which application pattern is best?
This is the internet’s favorite thermal-paste argument—dot vs. line vs. X vs. full spread vs. stencil. Here’s what independent testing actually shows:
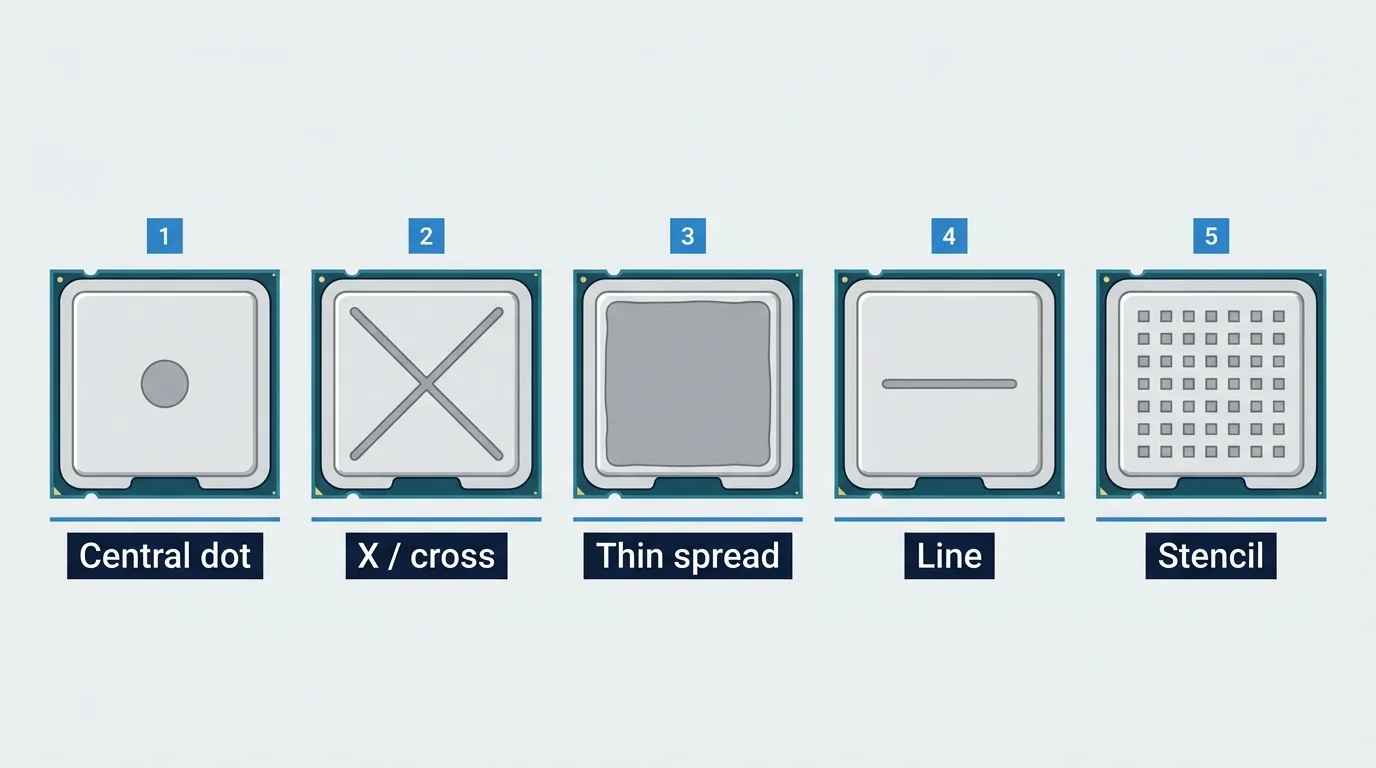
- GamersNexus benchmarked application methods on a delidded, ~256 W CPU and found the full range from best to worst method was less than one degree, because tightening the cooler simply squeezes out any excess (GamersNexus). Worth knowing the conditions: that’s a 2018 test on a delidded Core i7-8086K—a deliberately extreme case, not a typical build.
- Club386 tested five patterns on a Ryzen 9 9950X3D and a Core i9-13900K under a controlled 30-minute all-core load, and concluded that application pattern “influences CPU temperature by only a few tenths of a degree when executed correctly,” with a central dot landing within about 0.5–1.0 °C of the best methods (Club386). Its top performers were the X and the thin full spread, which it rates as effectively tied.
- Corsair photographed the coverage each pattern actually leaves behind and concluded that “all these methods are sufficient” and that “too much is preferable to too little” (Corsair). Notably, it is not a fan of the pea dot: it rates it “passable, but sub-optimal” because a circular spread leaves the corners dry, and it prefers a stencil for “the most even coverage.”
The takeaway: these three don’t agree on a winner—and that’s the finding. Once there’s enough paste for full, gap-free coverage over the die area, the gap between methods is a fraction of a degree to (at the outside) a couple of degrees. Club386’s summary is that changing pattern or adding extra paste “rarely costs more than 1-2 °C on mainstream desktop CPUs.” Nobody’s build is being saved or ruined here.
So don’t pick the pattern with the best reputation. Pick the one that most reliably achieves complete coverage on your chip:
| Chip / surface | How much | Pattern | Why this one |
|---|---|---|---|
| Standard square desktop IHS (Intel LGA115x/1200, AMD AM4) | Pea-sized, ~4–6 mm (~0.1–0.3 g) | Single center dot | Pressure spreads a circle that easily covers the die underneath. Simplest, and hardest to get wrong. |
| Large rectangular IHS (AMD AM5, Intel LGA1700) | A little more, ~0.3–0.4 g | Center dot, a short line along the long axis, or an X | A circle reaches the long ends last. A short line or an X carries paste toward the ends, which is where a rectangular lid needs the help. |
| Big HEDT / Threadripper lid | Scale up to the area | X or cross | The corners sit a long way from the center; diagonals get there. Club386 recommends the X specifically for larger spreaders. |
| Bare GPU die | Grain-of-rice to small pea | Small center dot, or a thin spread across the die only | A small exposed target with no lid to spread under—and neighboring components you don’t want paste on. |
| Bare laptop / APU die | Grain-of-rice, ~3 mm | Tiny center dot | Tiny contact area; anything more squeezes out onto nearby parts. |
Two cautions the pattern debate tends to skip:
- Mounting pressure is the variable that actually moves temperatures. Pattern is worth under a degree. A cooler tightened unevenly is worth several. Spend your care on Step 4.
- None of the above applies to liquid metal. Liquid-metal compounds are electrically conductive and unforgiving—a different procedure entirely—so don’t treat them like regular paste.
How to apply thermal paste to a GPU
The principle is identical, but a bare GPU die needs a lighter touch than a CPU’s protective IHS:
- Remove the cooler shroud and clean the die and cold plate with 99% IPA.
- Because a GPU die is small, bare, and exposed, use much less than a CPU takes—a grain-of-rice to small-pea dot. This is the one case where a thin, even spread across just the die is worth the extra care: there’s no heat spreader to distribute the paste under, so a dot has less help reaching the edges.
- Don’t let paste ooze onto the surrounding surface-mount components.
- Reattach the cooler, tightening in a crisscross pattern, and remember that many cards also use thermal pads on the VRAM and VRMs—inspect and replace those if they’re worn.
Applying thermal paste on a laptop
Laptops follow the same clean → dot → even-pressure routine, with two extra notes. First, laptop dies are usually bare and tiny, so this is rice-grain territory (~3 mm), not pea—excess has nowhere to go but onto the neighboring components. Second, many laptops use a shared heat-pipe assembly covering both the CPU and GPU, so plan to repaste both at once while you’re in there. Warming the machine before you open it matters even more here: laptop heatsinks are thin and easy to bend if you pry at cold, hardened paste.
Common mistakes to avoid
- Using too much. It won’t usually wreck your temps—Corsair’s verdict is that “too much is preferable to too little”—but it makes a mess, it can ooze onto the board, and it leaves a thicker bond line than mounting pressure can fully squeeze out.
- Using too little. Dry spots over the die are the one quantity mistake that does reliably raise temperatures. Of the two errors, this is the one to avoid.
- Yanking a cold cooler straight up and pulling the CPU out of a latched socket with it. Warm the machine first, then twist gently to break the seal.
- Reusing old, dried paste. Always clean and reapply when you remount a cooler.
- Obsessing over the pattern instead of the mount. Pattern is worth under a degree; uneven clamping pressure is worth several.
- Forgetting the protective film on a new cooler’s base, or double-applying over pre-applied paste.
- Letting paste escape into the socket. Keep it on the chip. On AM5 in particular, the notched lid leaves parts of the substrate exposed right beside the socket contacts, so paste that squeezes past the edge has somewhere unhelpful to go.
- Confusing thermal adhesive with thermal paste. Adhesive bonds a heatsink down permanently; paste is meant to come apart again.
When to reapply thermal paste
Paste degrades two ways. It slowly dries as the lighter carrier fluid escapes, and it pumps out: every heat cycle expands and contracts the metal on either side of the joint, and that repeated flexing gradually works paste sideways out of the gap. A joint with too much paste in it has more material available to migrate, which is one more reason not to over-apply. Either way, what’s left behind is a thinner, patchier layer with dry spots.
For most users, reapplying every 3–5 years is plenty as a rule of thumb, and premium pastes can go longer. Intel is stricter on one specific point—its guidance is to “replace the TIM if you reinstall the processor or fan-heatsink” (Intel Support)—so any time the cooler comes off, for any reason, the paste gets replaced rather than reused. If a system that used to run cool starts creeping warmer with clean fans and dust-free fins, aging paste is a likely culprit.
A note from a thermal-materials manufacturer
At ZIITEK we manufacture thermal interface materials—including thermal greases like our TIG®780 series (1.0–5.2 W/mK)—for OEMs building everything from servers to EV battery packs. The physics on a workshop bench is the same as in a data-center rack, and it’s worth spelling out why this guide keeps insisting that coverage beats pattern.
What actually moves heat is the bond line: the thin layer of paste bridging the two metal faces. Its resistance has two parts. There’s the paste’s own resistance, which rises in direct proportion to how thick the layer is—double the thickness, double that contribution. And there’s the contact resistance where the paste meets each metal face, which depends on how completely the paste wets those surfaces and displaces the air trapped in their microscopic pits.
That’s the entire trade-off, and it explains both failure modes. Too little paste and you never wet the full area, leaving air gaps exactly where they hurt. Too much and you’ve added bond-line thickness that clamping force couldn’t squeeze out. The pattern only decides how paste travels from where you put it to where it needs to end up—and once it has arrived, the joint has no memory of the route.
Formulation is what makes that journey easy or hard. A grease built for high thixotropy—stiff and stable in the tube, but thinning under the shear of a cooler being clamped down—spreads further and wets better under the same mounting pressure than a stiff one would. That’s a material property, not a technique. It’s also why “tighten it evenly and let the paste do the work” is honest advice rather than a shortcut: a well-formulated paste is engineered on the assumption that clamping force is doing the spreading. Nail coverage and mounting pressure and you’ve applied thermal paste correctly.
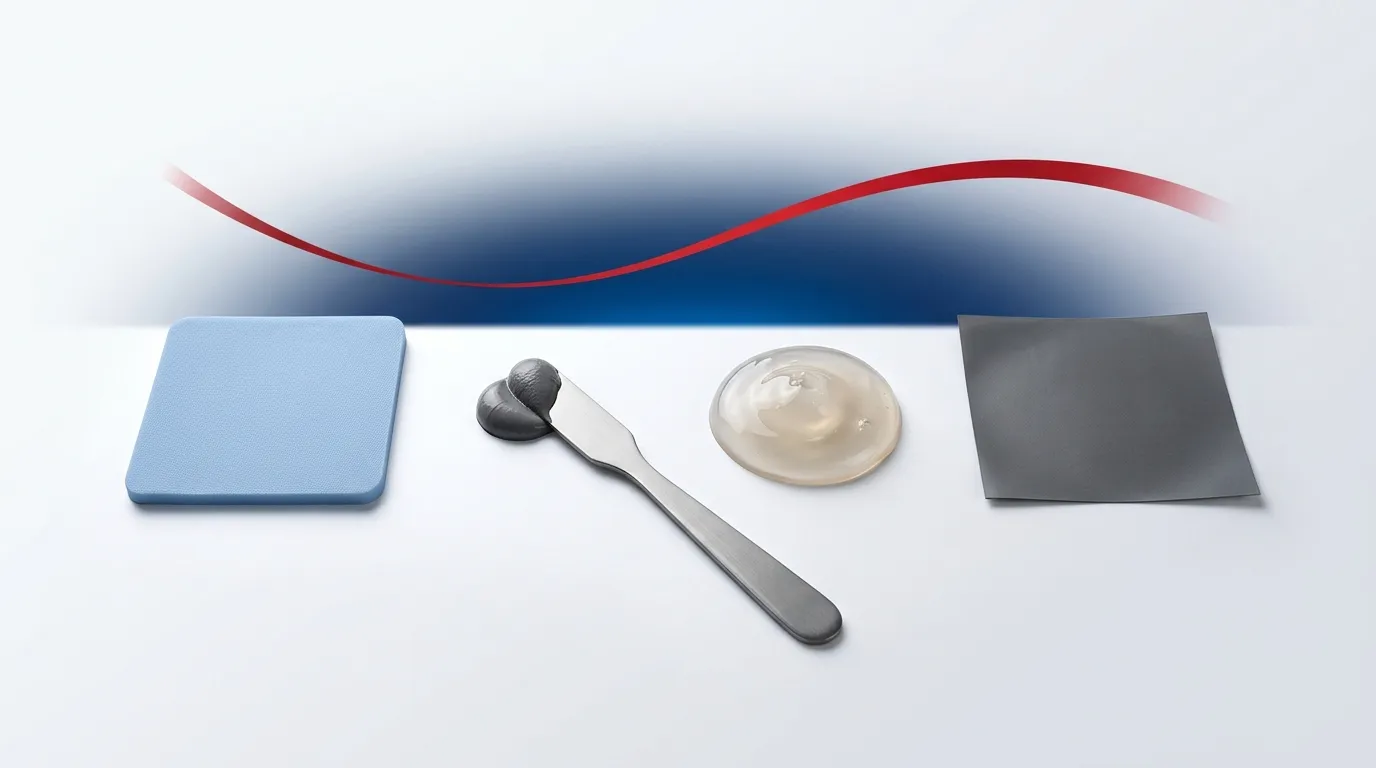
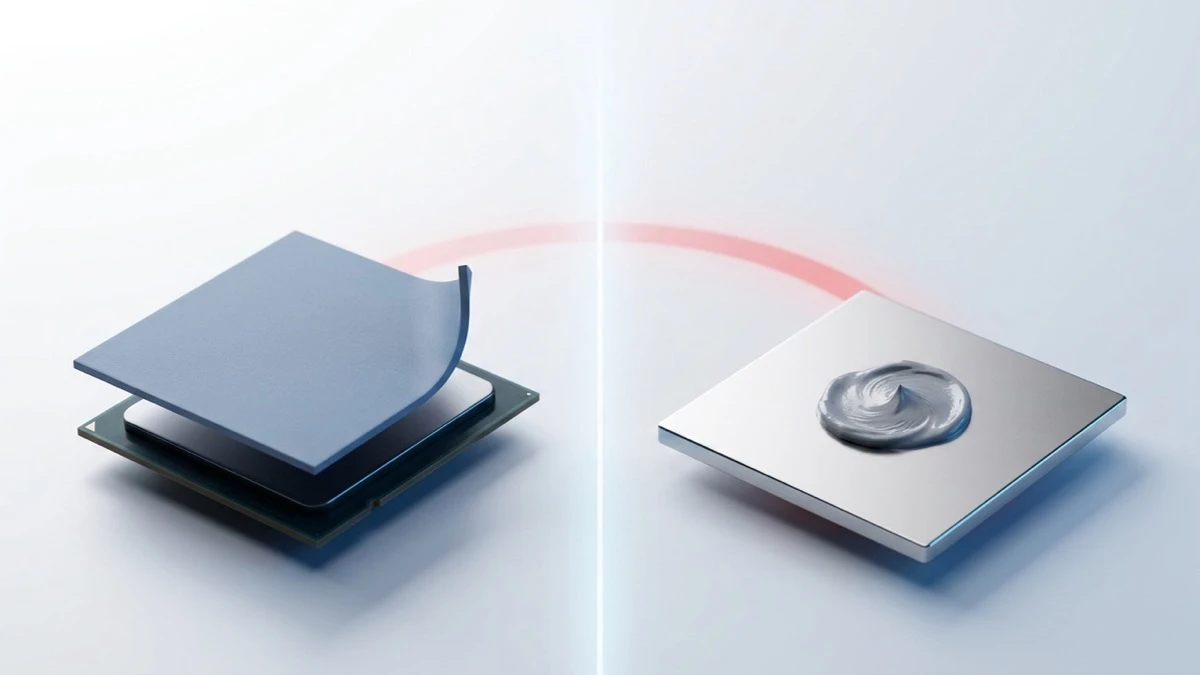
Thermal paste is only one option in a whole family of interface materials. If you’re weighing it against a thermal pad, or trying to pick the right material for a build, start with our Complete Thermal Interface Materials Selection Guide.
Frequently asked questions
Do I need to spread thermal paste myself? On a standard heat spreader, no—a center dot plus the cooler’s mounting pressure spreads reliably without trapping air. But manual spreading isn’t worse: Club386 measured a careful thin spread among its best-performing methods. It’s just unnecessary work on a standard CPU. It does earn its keep on large rectangular lids, bare GPU dies, and laptop chips, where a single dot has less help reaching the edges.
Does the thermal paste pattern really matter? Barely. Club386 measured well-executed patterns within a few tenths of a degree of one another, and found that changing pattern or adding extra paste “rarely costs more than 1-2 °C” on mainstream desktop CPUs. Pick whichever pattern most reliably covers your die—then spend your attention on tightening the cooler evenly, which matters more.
How much thermal paste should I use? A pea-sized dot—about 4–6 mm, roughly 0.1–0.3 g—for a standard desktop CPU. A little more (~0.3–0.4 g) for a large AM5 or LGA1700 lid, and only a grain of rice (~3 mm) for a bare die. See How Much Thermal Paste to Use for chip-specific guidance.
Do I have to remove the old paste first? Yes—always clean both surfaces with 99% isopropyl alcohol before reapplying. Here’s how to remove & clean off thermal paste.
Can I use too much thermal paste? Within reason, it’s the lesser of the two errors—Corsair’s verdict is that “too much is preferable to too little,” and the cooler squeezes the excess out anyway. What excess actually costs you is a slightly thicker bond line, a mess, and paste escaping onto the board. Most standard pastes are non-conductive, so a little overflow isn’t a crisis—but silver- and carbon-loaded compounds can be electrically or capacitively active, so check what’s in your tube before you shrug off a spill.
Can I use my PC immediately after applying thermal paste? Yes. Standard thermal paste doesn’t need to “cure” before use—once the cooler is mounted, you can boot right away. Some pastes settle over the first few heat cycles and drop a degree or two after a few days, but there’s no mandatory waiting period.
How do I know if the paste is applied correctly? Boot up and watch your temperatures under a short stress test. On a typical desktop, idle temps around 30–45 °C and load temps that stabilize well short of the ~95–100 °C throttle ceiling mean you’re fine. If you’re unsure, you can lift the cooler once and look at the imprint: you want paste covering the whole area over the die, with no dry patches and no great flood squeezed out over the edges. Then clean both surfaces and reapply fresh paste before remounting—never re-seat on disturbed paste.